Venetian Plaster is extremely smooth with a wax coated finish (almost like marble) . It is important to remove this coat in order for the primer to adhere to the wall. Protecting the rest of the house from dust with plastic sheeting, we used a very rough sandpaper and palm sander to meticulously remove the wax surface. After that we went around the entire room again with a finer sandpaper to ensure a smooth painted finish. Not done yet we cleaned the wall with mineral spirits and hot water to deny any chance of the wax being left behind.
The next step was to prime the walls. We used an Alkyd/Waterborne convertible primer called SuperStix by Para Paints. This primer is super adhesive and accepts the latex Benjamin Moore Regal Paint that we used for the finish coats. After priming we again sanded the wall and applied two coats of the finishing paint. The results were amazing!

Painting the kitchen and Mstr. Bedroom involved taping a straight line on the ceilings as the wall paint continued roughly 3 inches onto the ceiling. We used blue tape as it creates sharp lines and is easy to remove. The results again were very pleasing to the homeowner, the new lighter colors opening up the room from the former dark ones.


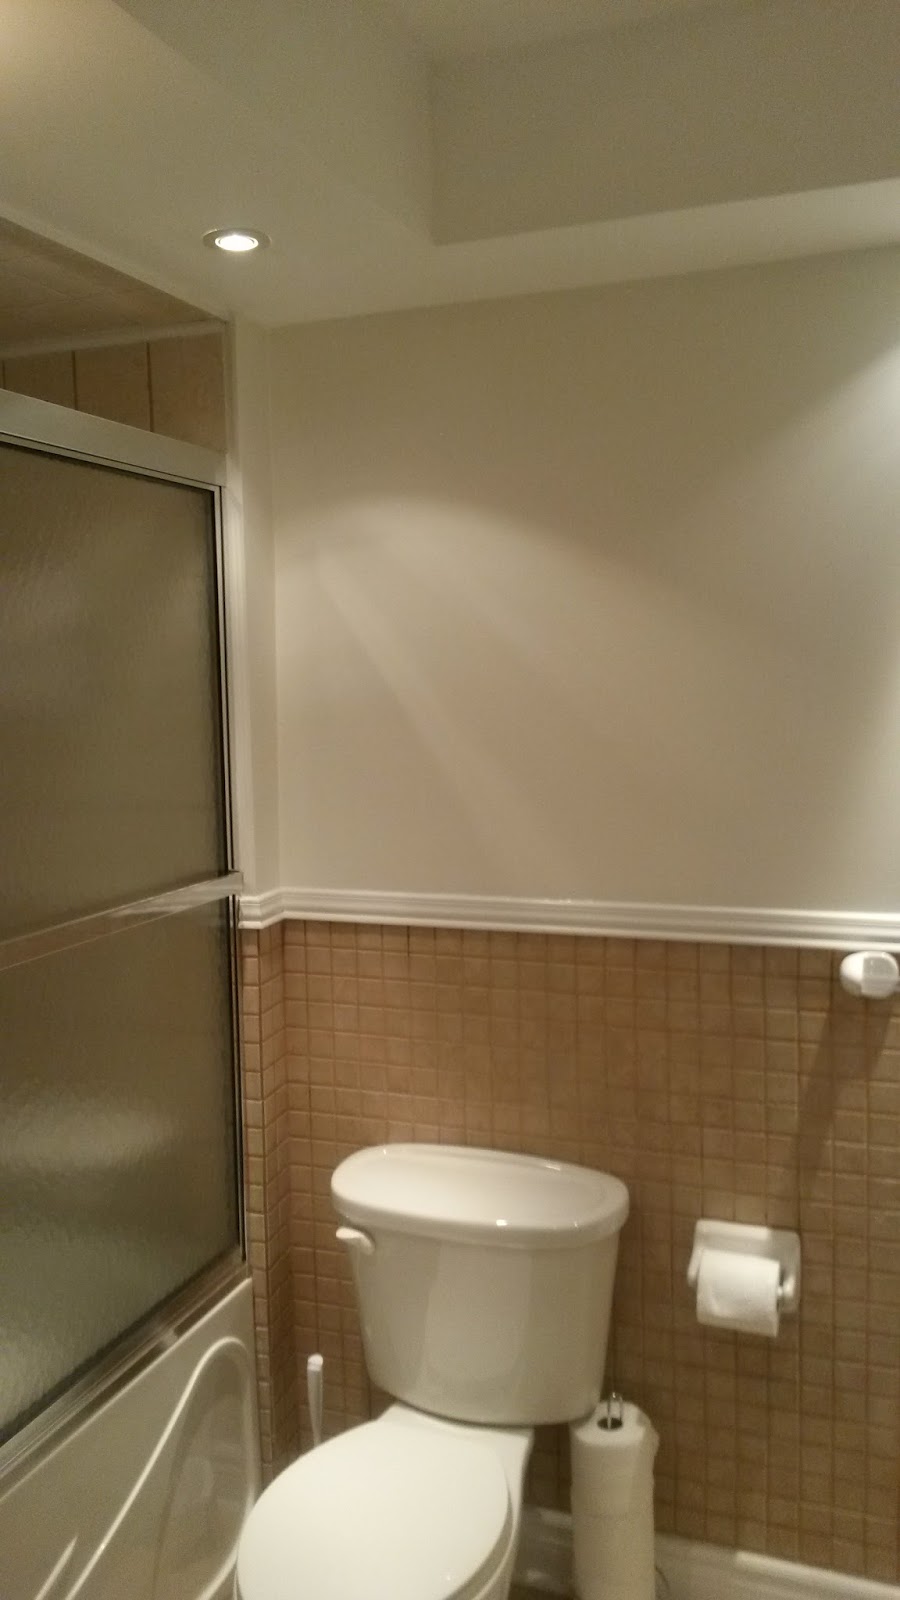
In the washroom we used a higher Pearl sheen to ensure a smooth and cleanable surface since washroom get a lot of traffic and dirt on the walls. We also used a tough silicone based caulk to eliminate any gaps around the door jams, trim, and vanity.


A lot of homeowners are curious as to why painting can take so long. Though One Brush Painting is fast compared to some, I like to explain to them that most of painting involves the prep work. A properly prepared surface ensures a solid and lasting finish and is therefore an integral part of the painting process.
Here is an example of a properly prepared surface as opposed to one that isn't: We sanded the line around the top of the ceiling then taped along the outside of the line with very soft blue tape. When we removed the tape it peeled off some of the ceiling paint! In order to fix the problem we then had to tape on our freshly painted line and repaint the section of the ceiling that peeled off from the previous painters job. Only 2 hours after putting on our finishing coat we were able to tape over it without it peeling off! So the moral of the story is always prep and only use the highest quality products to get the One Brush Painting seal of approval.
Visit www.onebrush.ca to view our portfolio of work or to book your free estimate!
No comments:
Post a Comment